Back to Background
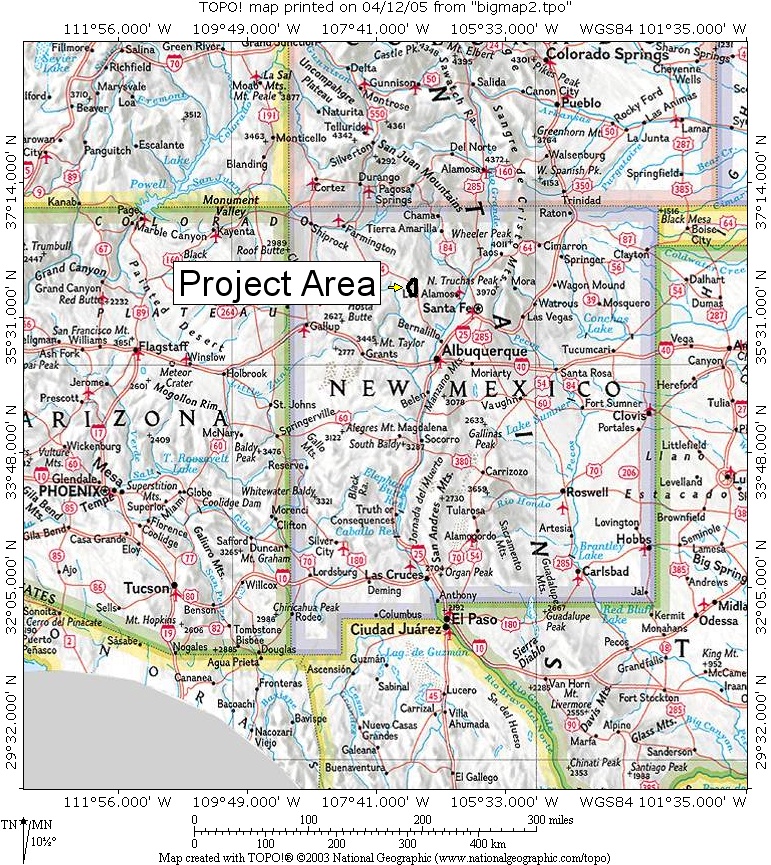
Figure 1 (Larger Picture)
Back to Background